


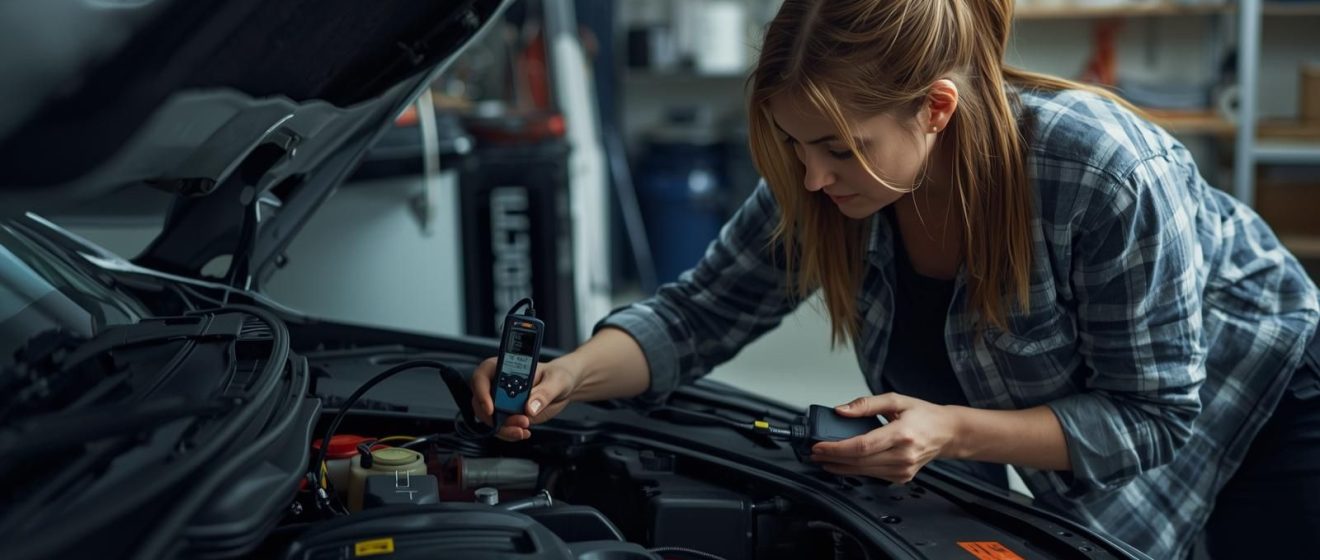
That sinking feeling when your car develops a problem doesn’t have to mean an immediate trip to the mechanic. Many common automotive issues can be diagnosed at home with basic observation skills and minimal tools. Learning to identify symptoms accurately helps you communicate effectively with mechanics, avoid unnecessary repairs, and sometimes fix simple problems yourself.
This guide organizes problems by their most noticeable symptoms, helping you trace issues to their likely sources. Remember: accurate diagnosis starts with careful observation. Note when problems occur (cold starts, acceleration, braking), under what conditions (rain, heat, specific speeds), and any accompanying sounds or smells.
Engine Won’t Start: Systematic Diagnosis
When your car refuses to start, don’t panic. The problem usually falls into one of three categories: electrical, fuel, or mechanical. Start with the most obvious—listen carefully. A rapid clicking sound typically indicates a weak battery. A single click or no sound suggests starter problems. The engine turning over but not firing points to fuel or ignition issues.
For clicking sounds, check battery connections first. Clean any corrosion from terminals and ensure tight connections. Test battery voltage with a multimeter—healthy batteries show 12.6 volts or higher. Below 12.4 volts likely means insufficient charge. If the battery tests good but clicks persist, the starter motor or solenoid may need attention.
If the engine cranks but won’t start, check for fuel delivery. Listen for the fuel pump’s brief whirring sound when you turn the key to “on” (not start). No sound could mean pump failure, fuse issues, or relay problems. Smell gasoline at the tailpipe during cranking—its absence suggests fuel delivery problems. For older vehicles, check the choke operation; for newer ones, verify security systems aren’t preventing start-up.
Check Engine Light: Understanding What It Tells You
The illuminated check engine light triggers anxiety but provides valuable information. First, note the light’s behavior. A steady light indicates a non-critical problem needing attention soon. A flashing light signals a serious issue requiring immediate attention to prevent damage, typically related to misfires damaging the catalytic converter.
Invest in an OBD2 scanner—basic models are affordable and connect to smartphone apps. Scan for trouble codes, which appear as letters and numbers (like P0301). Write down all codes, not just the first one. Some codes pinpoint exact problems; others indicate general areas needing investigation. Common codes include P0420 (catalytic converter efficiency), P0171/P0174 (lean fuel mixture), and P0300 (random misfire).
Before assuming the worst with trouble codes, try the simple fixes first. Loose or damaged gas caps cause evaporative system codes (P0455). Worn spark plugs or coils trigger misfire codes. Dirty mass airflow sensors cause fuel mixture codes. Many auto parts stores offer free code scanning, but invest in your own scanner for repeated use and pending code monitoring.
Strange Noises: Identifying by Sound Type
Automotive noises provide diagnostic clues. Squealing during startup that disappears after warm-up usually indicates worn serpentine belt or tensioner. Continuous squealing suggests belt problems; chirping that changes with engine speed points to pulley bearings. Spraying water on the belt briefly—if the noise stops, you’ve confirmed belt issues.
Grinding noises during braking signal worn brake pads contacting rotors. This requires immediate attention. Clicking while turning often means failing CV joints. Rhythmic clunking that changes with speed suggests wheel bearing problems. Engine knocking—metallic pinging during acceleration—typically indicates improper combustion timing or low-quality fuel.
Hissing sounds from the engine bay often mean vacuum leaks. Use a mechanic’s stethoscope or even a length of hose to locate the source. Squeaks and rattles from the suspension usually indicate worn bushings, ball joints, or shock absorbers. Test by bouncing each corner of the vehicle—continued bouncing after release suggests worn shocks.
Performance Issues: Acceleration and Power Problems
Sluggish acceleration has multiple potential causes. Hesitation during acceleration often relates to fuel delivery or ignition. Dirty fuel injectors, clogged filters, or weak fuel pumps restrict fuel flow. Ignition problems include worn spark plugs, failing coils, or incorrect timing. Air intake restrictions—dirty air filters or clogged catalytic converters—also reduce power.
Rough idling feels like the engine shakes excessively at stops. Common causes include vacuum leaks (listen for hissing), dirty idle air control valves, or engine mounts allowing excessive vibration. Clean the throttle body and idle air control valve as first steps—carbon buildup frequently causes idle problems in modern fuel-injected engines.
Stalling at stops or during deceleration suggests idle control problems, but also check transmission issues in automatic vehicles. Manual transmission stalling during clutch engagement often indicates clutch adjustment needs or worn components. Note whether stalling occurs when cold, hot, or randomly—temperature patterns help narrow causes.
Electrical Gremlins: Diagnosing Electrical Problems
Modern vehicles contain complex electrical systems, but many problems have simple solutions. Intermittent electrical failures often trace to ground connection corrosion. Vehicles have multiple ground points connecting electrical systems to the chassis—clean these connections first when experiencing random electrical issues.
Dimming lights when using accessories indicate charging system problems. Test alternator output with a multimeter—should read 13.8-14.4 volts with engine running. Lower readings suggest alternator issues; normal readings point to battery problems. Headlights that dim at idle but brighten with RPM increases typically mean worn alternator brushes.
Fuses protect electrical circuits and frequently fail. Keep spare fuses and learn your fuse box locations. When something electrical stops working, check its fuse first. Use the fuse diagram in your owner’s manual or fuse box cover. Remember that fuses blow for reasons—replacing without addressing the cause leads to repeated failures.
Transmission Troubles: Identifying Shift Problems
Automatic transmission issues often feel scary but some have simple solutions. Delayed engagement when shifting from Park to Drive might just need fluid change or adjustment. Hard shifts or slipping between gears often indicate low fluid levels. Check transmission fluid with the engine warm and running on level ground—the dipstick procedure differs from engine oil checking.
Fluid condition matters as much as level. Healthy transmission fluid appears red and smells slightly sweet. Brown, burnt-smelling fluid indicates overheating and potential damage. Metal particles in fluid signal internal wear. For manual transmissions, difficulty shifting often relates to clutch adjustment or worn synchronizers. Grinding during gear engagement typically means synchronizer problems.
Transmission fluid leaks commonly come from pan gaskets, cooler lines, or seal areas. UV dye added to transmission fluid makes leaks easier to spot with a blacklight. Remember that many “transmission problems” actually relate to sensors, solenoids, or electrical connections rather than mechanical failures—diagnose thoroughly before assuming worst-case scenarios.
Cooling System Issues: Overheating Diagnosis
Overheating demands immediate attention but systematic diagnosis prevents misdiagnosis. First, verify actual overheating—faulty temperature sensors sometimes trigger false warnings. If confirmed, check coolant level in the overflow reservoir when cool (never open a hot radiator cap). Low levels indicate leaks; check hoses, radiator, water pump, and heater core for evidence.
Coolant leaks often leave colored residues (green, orange, or pink depending on coolant type) and sweet smells. Pressure testers help find leaks without engine operation. If levels are adequate, test radiator fan operation—electric fans should activate when temperature rises. Mechanical fan clutches on older vehicles should provide substantial resistance when spun by hand (engine off).
Overheating only at idle suggests cooling fan problems. Overheating during highway driving points to radiator flow issues. Overheating immediately after startup indicates thermostat stuck closed. Milky oil or coolant indicates head gasket failure allowing mixing—serious but diagnosable with combustion leak testers that detect exhaust gases in coolant.
Brake Problems: Safety-Critical Diagnosis
Brake issues require prompt attention but careful diagnosis. Spongy brake pedals that sink toward the floor usually mean air in hydraulic lines, requiring bleeding. Pedals that gradually sink while holding pressure suggest master cylinder problems. Vibration during braking typically indicates warped rotors needing replacement or resurfacing.
Pulling to one side during braking can mean stuck calipers, contaminated brake pads, or suspension issues. Check for uneven pad wear between sides. Grinding noises mean immediate attention required—pads have worn through to metal. Squealing during light braking often comes from wear indicators telling you pads need replacement soon.
ABS problems trigger warning lights and sometimes unusual pedal feedback during activation. Wheel speed sensor failures commonly cause ABS issues. These sensors collect road debris and corrosion—cleaning sometimes restores function. Remember that ABS shouldn’t activate during normal braking—if it does, you likely have traction problems needing separate attention.
Suspension and Steering Issues
Worn suspension components affect handling and safety. Excessive bouncing after bumps indicates shock or strut wear. The “bounce test”—pushing down on each corner and releasing—should stop after one rebound. Continued bouncing means replacement needed. Clunking over bumps often means worn ball joints, control arm bushings, or sway bar links.
Steering wheel vibration at highway speeds typically indicates wheel balance problems or tire irregularities. Vibration during braking suggests rotor issues. Loose steering with excessive play often means worn tie rod ends or steering linkage. Power steering problems include groaning noises (low fluid), stiff steering (pump failure), or fluid leaks at hoses and rack.
Uneven tire wear patterns provide suspension diagnosis clues. Feathering edges indicate alignment problems. Cupping (scalloped wear) suggests worn shocks. Center wear means overinflation; edge wear means underinflation. Regular tire rotation helps identify developing suspension issues before they cause safety concerns or premature tire replacement.
Smells as Diagnostic Tools
Your nose provides valuable diagnostic information. Sweet smells inside the cabin often indicate coolant leaks into the heating system. Burning oil smells suggest oil leaking onto hot exhaust components. Rotten egg smells usually mean catalytic converter problems, often related to rich fuel mixtures or converter failure.
Gasoline smells inside or outside the vehicle demand immediate attention—fuel leaks pose fire hazards. Check fuel lines, connections, and tank areas. Electrical burning smells (similar to melting plastic) indicate wiring problems or overheating electrical components. Musty smells from air conditioning often mean microbial growth in the evaporator—treat with disinfectant sprays designed for automotive AC systems.
Burnt rubber smells can mean slipping drive belts or brakes dragging. Distinguish between them by noting when the smell occurs—during acceleration (belts) versus braking (brakes). Exhaust smells inside the vehicle indicate dangerous leaks requiring immediate repair to prevent carbon monoxide poisoning.
Fluid Leaks: Identifying by Color and Location
Park on clean pavement overnight to identify leaks. Brown or black oily fluids typically mean engine oil. Red fluids are usually automatic transmission or power steering fluid. Green, orange, or pink indicates coolant. Clear watery fluid is likely condensation from air conditioning—normal in hot weather.
Leak location provides clues. Front center leaks often come from oil pans, timing covers, or crankshaft seals. Rear main seal leaks appear at the transmission/engine junction. Front-wheel areas suggest brake fluid or CV joint grease. Directly under radiator means cooling system leaks. Use UV dye additives with blacklights to trace difficult leaks.
Remember that some “leaks” aren’t problems. Air conditioning condensation drips clear water. Exhaust systems expel water vapor during warm-up—this normal combustion byproduct sometimes worries owners unnecessarily. Distinguish between normal moisture and actual fluid leaks by checking color, consistency, and location.
When to DIY Versus When to Visit a Mechanic
Certain problems suit DIY solutions: replacing air filters, changing spark plugs, swapping light bulbs, cleaning throttle bodies, and addressing simple electrical issues like fuse replacement. Other problems require professional tools or expertise: internal engine repairs, transmission work, advanced electrical diagnostics, and safety system repairs.
Consider your skill level, available tools, and time constraints. Some repairs demand special tools that cost more than the repair itself. Safety-critical systems (brakes, steering, airbags) deserve professional attention unless you possess specific expertise. Complex computer systems in modern vehicles sometimes require dealer-level diagnostic equipment.
Even when using a mechanic, your preliminary diagnosis helps. Present specific symptoms, when they occur, and what you’ve already checked. This information helps mechanics diagnose faster, potentially reducing labor costs. Avoid mentioning what you think needs replacement—describe symptoms instead, allowing the professional to determine appropriate repairs.
Building Your Diagnostic Kit
Assemble basic diagnostic tools: multimeter for electrical testing, OBD2 scanner for computer codes, mechanic’s stethoscope for noise isolation, infrared thermometer for temperature measurements, fuel pressure gauge, and compression tester. Add a good flashlight and inspection mirror for visual checks.
Keep service manuals for your specific vehicles—they provide diagnostic flowcharts and specifications. Subscribe to online repair databases for updated information. Join vehicle-specific forums where experienced owners share diagnostic tips for common problems. Document your findings—notes help identify patterns and provide valuable information if professional help becomes necessary.
Conclusion
Developing diagnostic skills empowers you as a vehicle owner. You’ll save money, avoid unnecessary repairs, and communicate effectively with mechanics when professional help is needed. Start with simple observations and basic tools, gradually expanding your capabilities as confidence grows. Remember that accurate diagnosis often requires patience and systematic testing—jumping to conclusions leads to misdiagnosis and wasted money.
Your vehicle communicates problems through symptoms—learning this language makes you a better owner and potentially saves hundreds in unnecessary repairs. Whether you fix problems yourself or take informed information to a professional, diagnostic knowledge provides valuable protection in the complex world of automotive repair.
 Account
 Categories
 Car filter
 Search
 Top
Top